Supplies:
2 matching waterproof containers, well washed (skip steps 1 and 2 for sour cream containers)
scissors and possible screw driver
tape (optional)
dirt/seeds/water
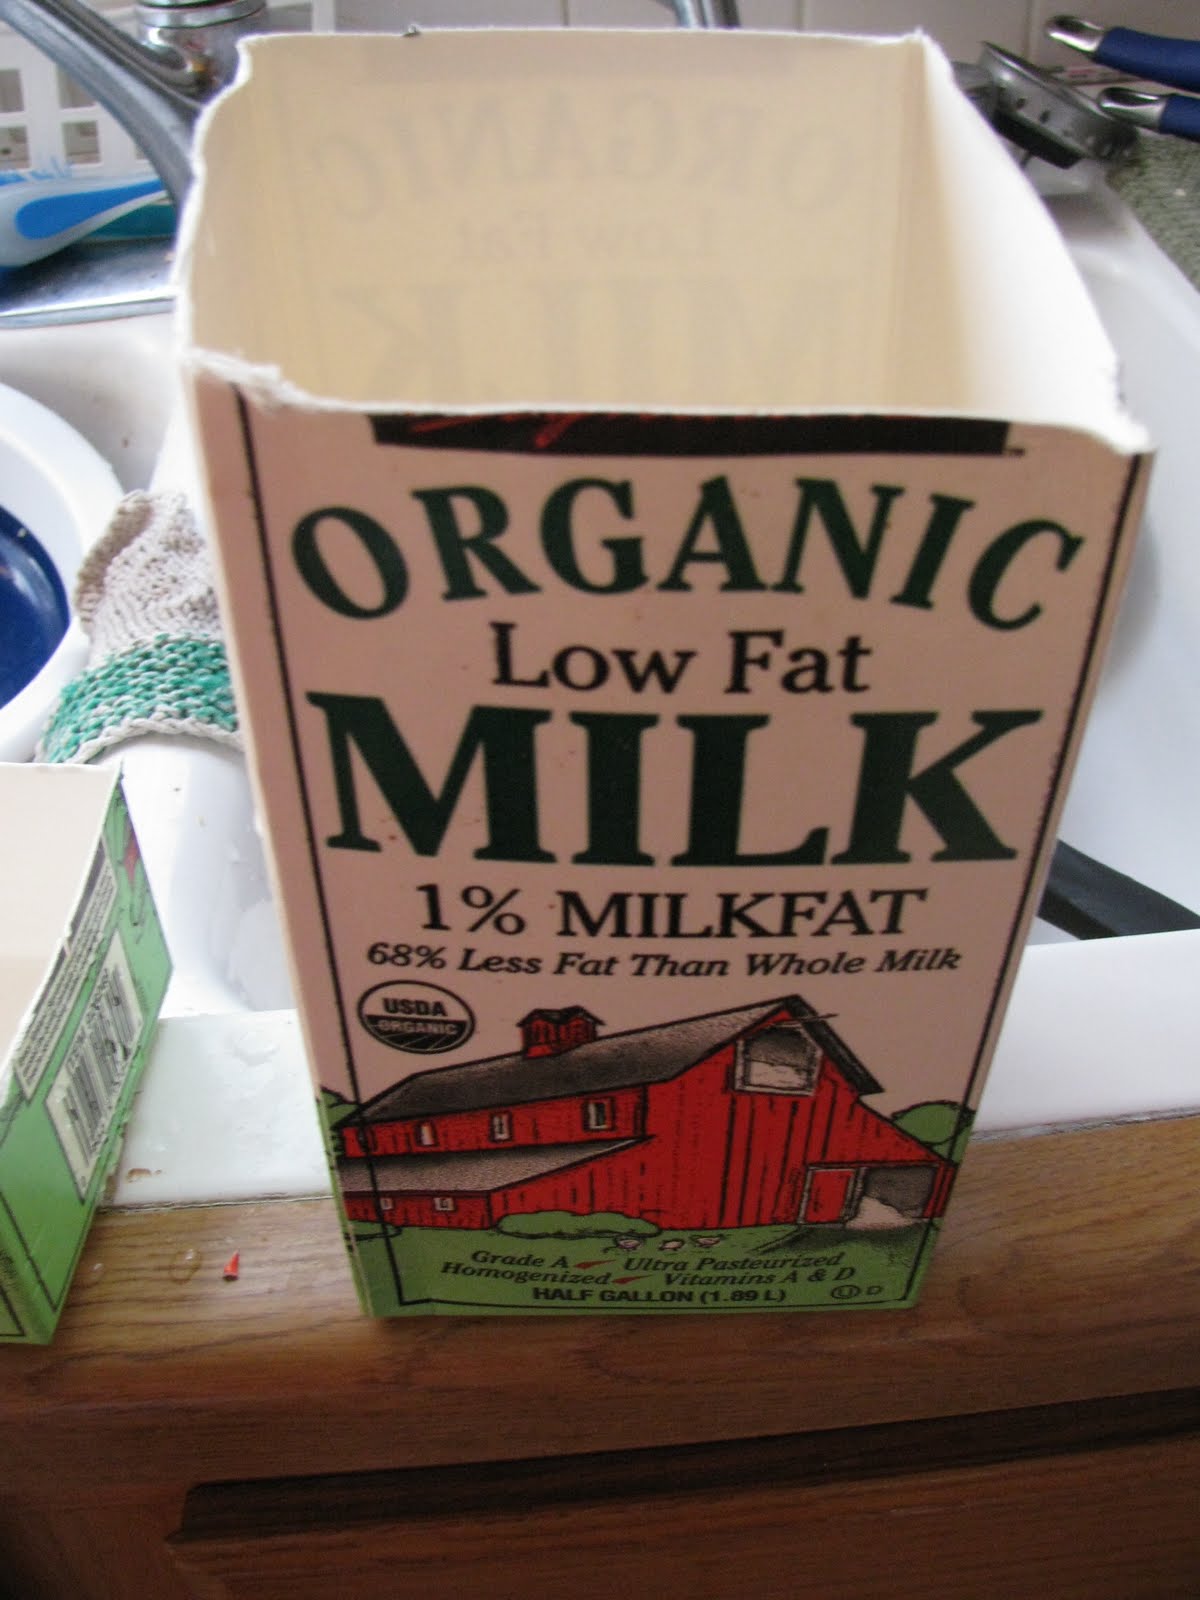
Step 1 - Cut the first carton 3" or so up from the bottom. It doesn't have to be exact, but try to keep the line fairly straight.

Step 2 - Cut the top off carton no. 2, keeping it as tall as possible. If using a milk jug, I'd suggest cutting off the handles.
Step 3 - Take carton no. 2 (the taller one) and punch 5-6 holes in the bottom with a screw driver or scissors.
Step 4 - Place carton no. 2 on the first carton. If the top carton is too big, make small slits in the sides of the bottom cartons. Here's the step where you can use tape if you really want to, but it usually isn't necessary.

Step 5 - Fill to 1/4" of the top with dirt/soil, get it moist and plant your seed according to the directions. Set outside and you've got yourself a wicked inexpensive planter that won't leak all over the place. They'll eventually (after several years) break down or compost or whatever, but that's ok, since it's easy to replace.
I've had great luck with these. Happy Spring, early Happy Earth Day and all that jazz!
P.S. I'm thinking of making the top of the carton where I just cut off the bottom into an upside down planter (plant sticking out the spout)... haven't gotten that far, and we'll see how it goes.
